(0)
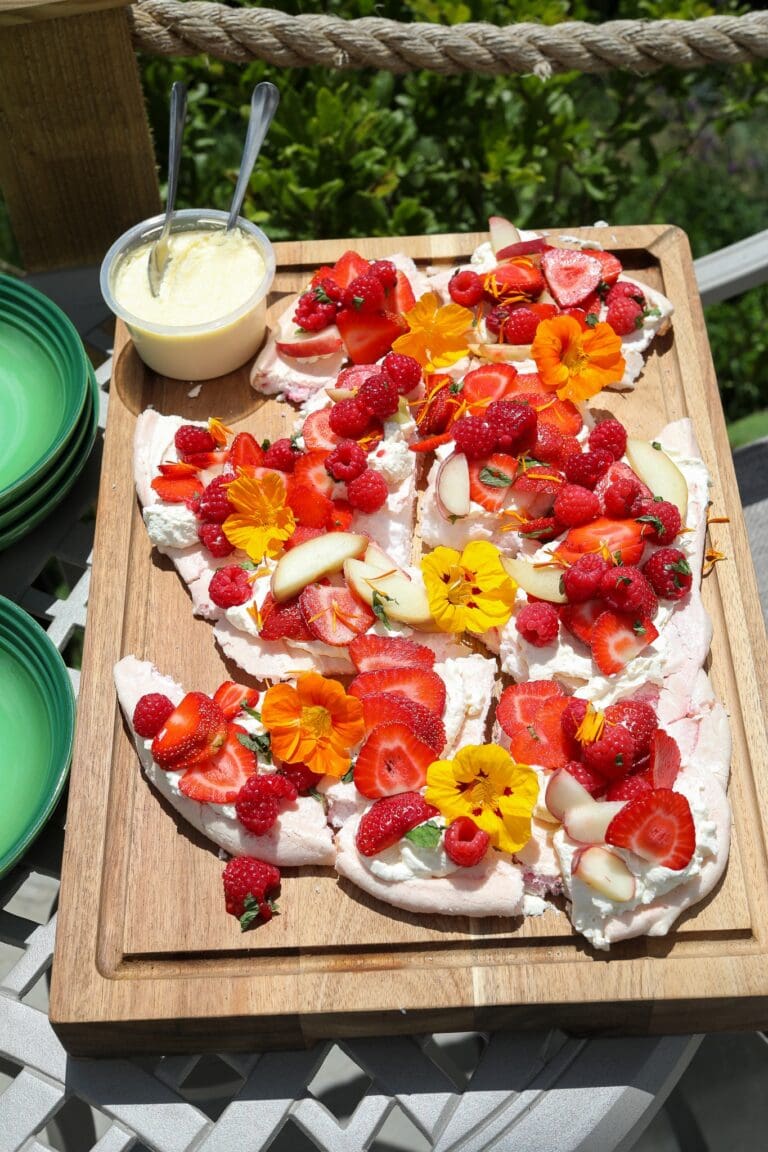
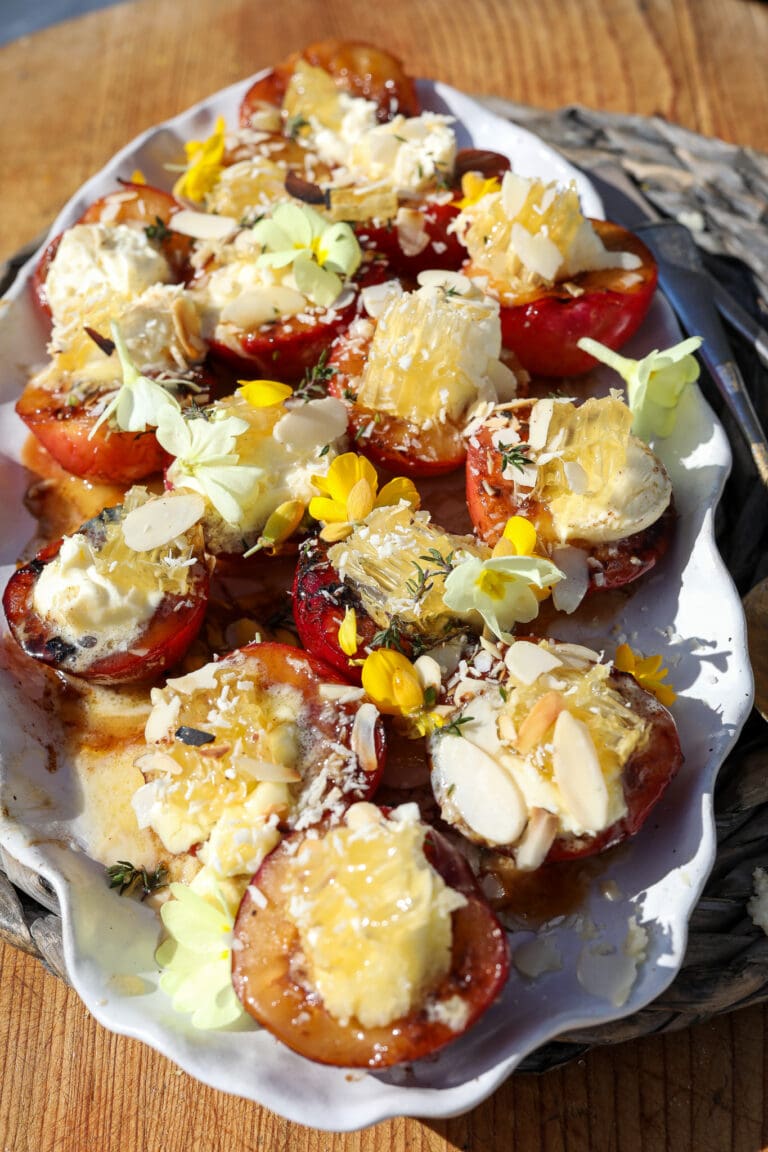
Pavlova Party with Clotted Cream & Summer Fruit
July 14, 2025
A joyful hybrid between a classic pavlova and a free-spirited Eton mess – this is hands-on, high-summer party...

A joyful hybrid between a classic pavlova and a free-spirited Eton mess – this is hands-on, high-summer party...

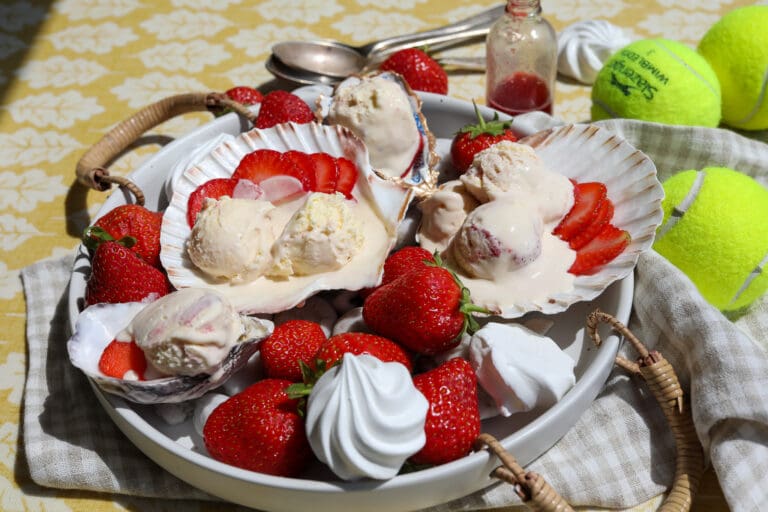
Summer in a scoop.
This seasonal ice cream brings together Cornish clotted cream, local strawberries, and crushed meringue to...
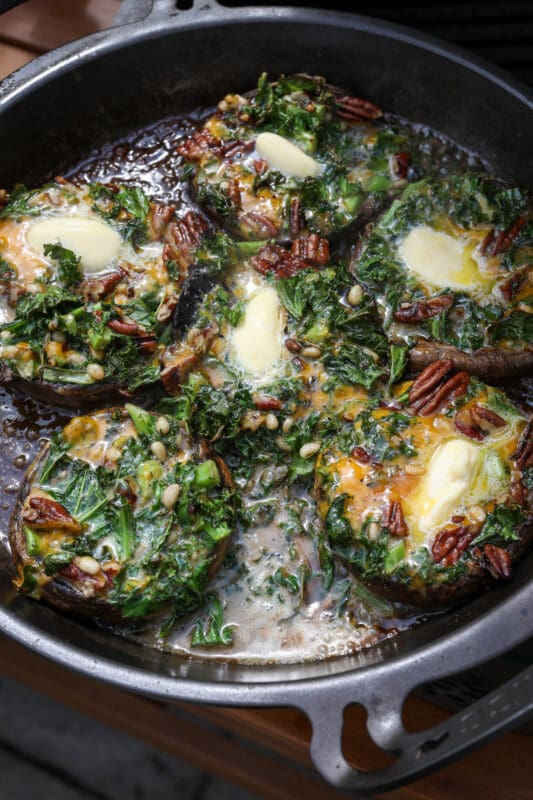
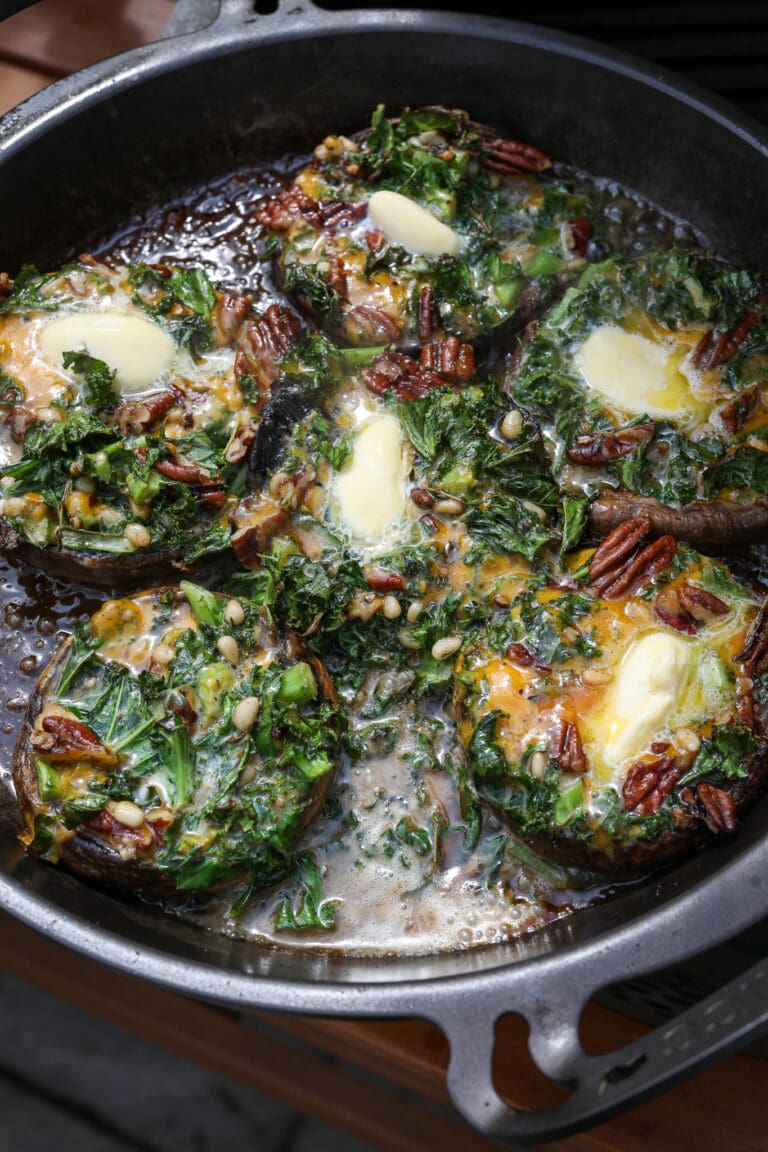
BBQ Mushrooms & Clotted Cream? Yes please. These smoky Portobello mushrooms are stuffed with blue cheese, kale, pecans,...
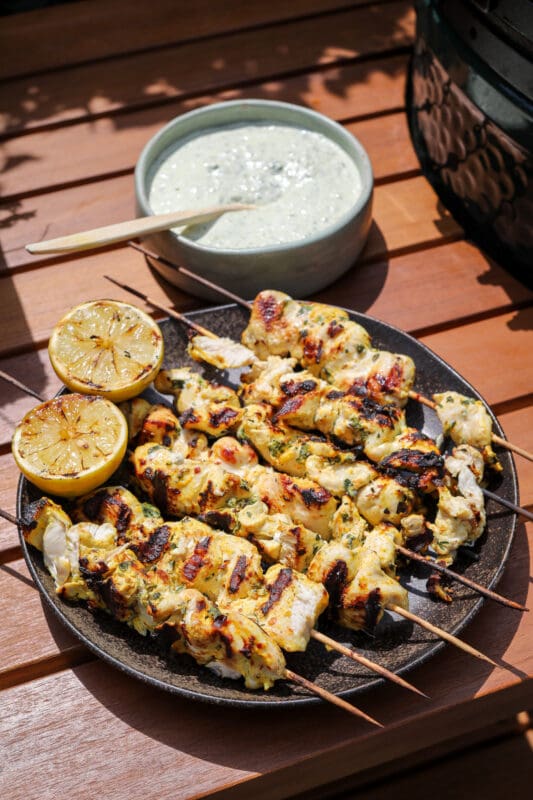
BBQ skewers done right – with a Cornish twist. Marinated in a Trewithen Greek style yoghurt, turmeric and...
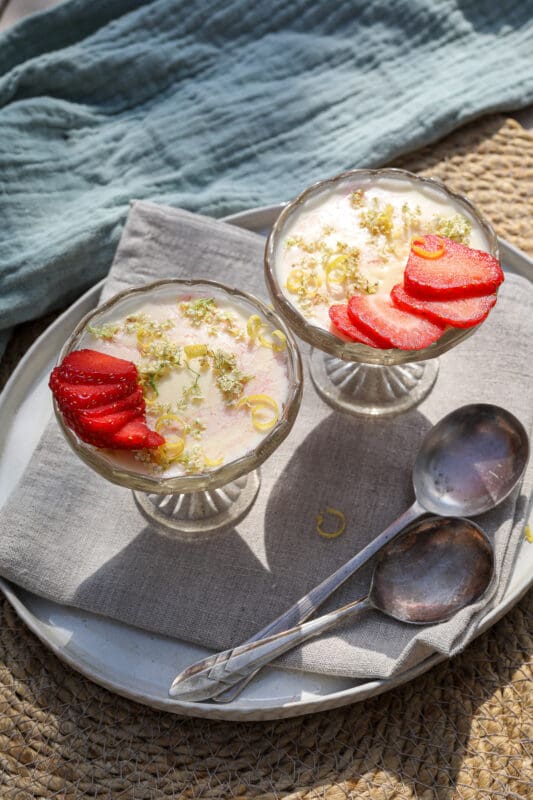
Summer in a spoonful.
This Elderflower & Strawberry Panna Cotta is made with Trewithen Cornish clotted cream and captures...
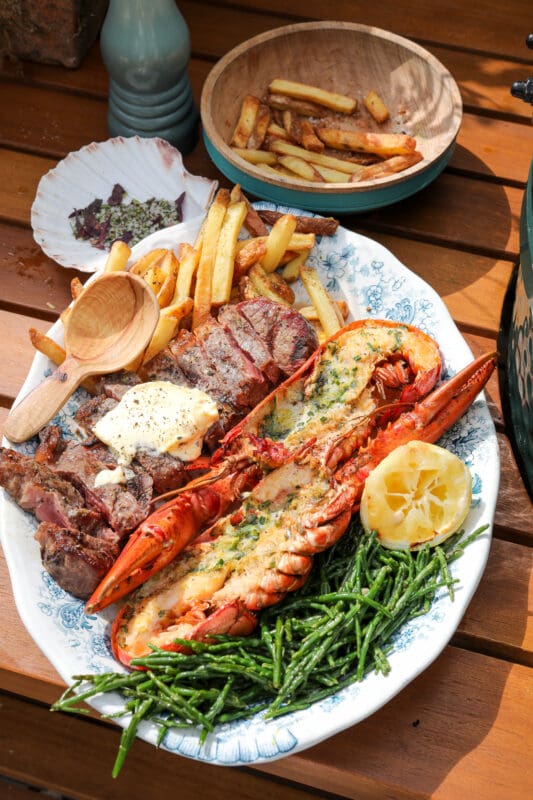
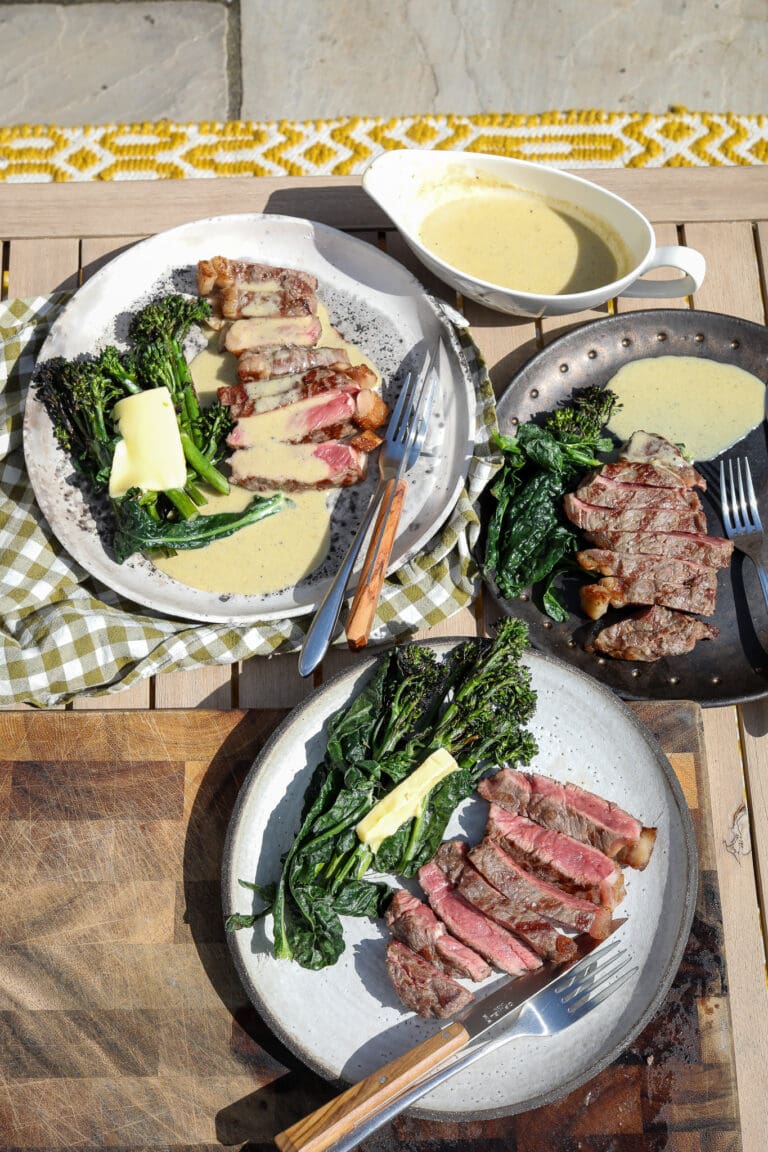
Steak. Lobster. Clotted Cream. Father’s Day sorted.
This Father’s Day Surf & Turf is a proper treat – perfect...
Can’t find what you’re looking for? Filter our recipes to find the perfect dish for you.
Do you have a recipe that is a family favourite and just too good not to share? Or maybe a grandparent’s recipe that is a timeless classic? Submit your recipe at the link below. If we use the recipe on our website, we will put your name up in lights and send a lovely gift as a thank you.